


When to Start Finger Foods for Babies
Wondering when to introduce finger foods to your baby? Learn about the benefits, safety tips, and yummy recipes for your little one's new milestones.
Published May 6, 2024
Feeding your baby can be an exciting time but may also come with some fears and frustrations.
Eating is a skill your baby is continuing to learn as they grow and develop. Knowing when to introduce finger foods to infants can be tricky given that a baby’s eating skills develop at different times.
Whether you introduce solid food to your baby through purees or have chosen to adopt a baby-led weaning approach, every transition will help support your baby’s continued growth and development as they master the art of self-feeding.
How Do I Know When My Baby is Ready for Finger Foods?
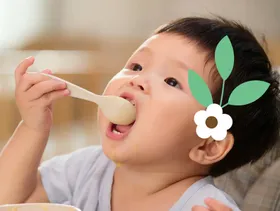
A natural question many parents have is when to start finger foods for their baby. As your baby’s motor skills are developing, you may notice that they grasp toys with their hands or even pick up small objects with two fingers. These motor skills are an indication that your baby may be ready for finger foods.
Palmar Grasp
Your baby’s palmar grasp will generally begin to develop around 5-6 months. The palmar grasp occurs when all four fingers curl around an object, while the thumb is tucked inside the palm.
Some families opt out of pureed foods and follow what is called a baby-led weaning approach.
In this case, your baby will have mastered the palmar grasp and will begin eating stick-shaped foods. The shape allows for most of the food to remain in the palm of their hand while some sticks out of the top of their hand, which is what they will ultimately chew on.
Pincer Grasp
Around 7 to 8 months your child may have developed a pincer grasp. This milestone involves using the tip of the index finger and the thumb to pick up small pieces of food.
While experimenting with self-feeding, you can offer your baby stick-shaped pieces of food in addition to smaller pieces of food.
As your baby’s development continues, you may notice that they switch between using a palmar and pincer grasp, even during the same meal. Eventually, your baby’s fine motor skills will become more honed allowing them to use the pincer grasp with ease.
There is no hard and fast rule about when a child is ready for baby finger foods. All babies develop at varying times; therefore, the exact age of introducing finger foods will vary as well.
Additional signs that point to baby finger food readiness include:
- Sitting with minimal assistance
- Bringing hands to their mouth intentionally
- Having strong head and trunk control
- Being curious about food and may reach towards your plate
You may be wondering if your baby needs teeth to begin eating finger foods. Surprisingly, all humans actually chew food with their back molars, which your baby won’t get until they’re around 20 months old. Thankfully, your baby has strong and sturdy gums which will enable them to mash and chew foods without any problems before their back molars arrive.
Now that you know when to start finger foods for your baby, you may be curious as to how to do so. There is no one right way to introduce baby finger foods. If they are between 6 and 9 months of age and showing signs that they are ready, you may consider the following methods of first food introduction:
Traditional Weaning
In a traditional weaning approach, you will begin feeding your baby smooth pureed foods, then slowly progress to slightly thicker purees, always giving it as spoon feeding. Baby cereals enriched with iron, like rice cereal for babies for example, are commonly used as first solids.
Once your baby has progressed through the various stages of pureed foods, they may be ready to explore baby finger foods as their next step in self-feeding.
Baby-Led Weaning
In a baby-led feeding approach, you will skip the purees phase altogether and move right into solid foods. Baby-led weaning typically takes place around 6 months of age.
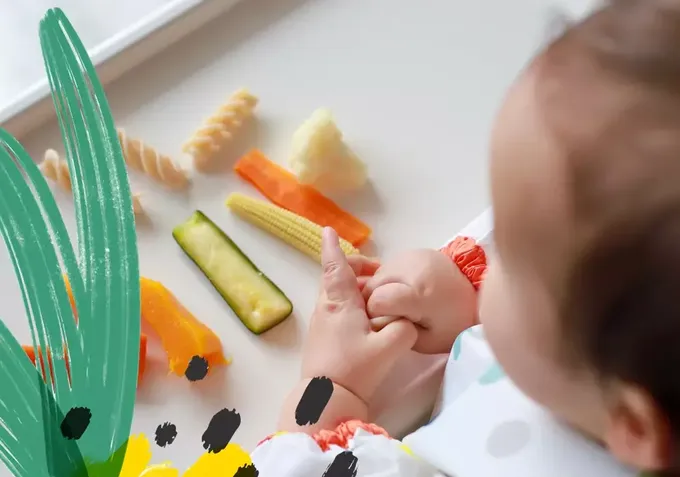
Remember, your baby may have mastered the palmar grasp but not the pincer grasp at this age. Therefore, it’s important that the food is cut into stick shapes roughly the width of one or two adult fingers rather than in smaller pieces. Cutting food into stick shapes will make grasping easier and less frustrating for your baby.
Additionally, the texture of your baby’s food at this stage is of utmost importance. On one hand, foods should be soft but not too soft that they turn to mush when picked up.
On the other hand, your baby’s food shouldn’t be too hard as it could create a potential choking hazard.
Combining Weaning Approaches
Remember, there is no one-size-fits-all approach to feeding your baby.
Another way to introduce finger foods to your baby is to use a combination of a traditional method and a baby-led approach. In this feeding method, you can present both purees and finger foods to your baby at the same time.
For example, you may begin a meal with pureed food and then offer some finger foods to complement that meal. Additionally, you may encourage your baby to dip a finger food into their puree to experiment with different textures.
Regardless of which feeding approach you choose, you’ll want to be mindful of safety and follow your baby’s feeding cues.
Rather than have your baby sit on the floor or toddle around the house during feedings, ensure they are in a highchair or booster seat that supports their trunk and hips. This will minimize the risk of choking.
Begin with 1 or 2 foods rather than many. This will help your baby feel less overwhelmed and also allow you to assess their tolerance of specific foods.
Allow for 2 to 3 days of giving your baby one food before introducing a new food into their diet to make sure they are not allergic to that food. Foods most often associated with allergies are eggs, soy, peanuts, tree nuts and seeds, wheat, fish, shellfish, and cow’s milk.
If your child is using a pincer grasp, cut foods into pea-sized pieces to allow your baby to work on this fine motor skill. Their food should be soft enough that it can easily squish between the fingers. Foods like carrots, grapes, whole nuts and hotdogs are considered a potential hazard for choking, make sure to avoid these.
As your child explores new foods, let them determine what and how much they want to eat. Create a low-stress environment by avoiding high-pressure language like “take one more bite”, and “you need to finish this”. This will help set the stage for healthy eating habits as your baby continues to develop and grow.
What are Good Finger Foods for Babies?
The best finger foods for babies will be soft, small, easily gummed, and nutritious. There are many great baby finger food ideas that can encourage self-feeding skills and provide important nutrition for your growing baby.
The following are some examples:
Vegetable Finger Foods:
- Roasted sweet potato mashed and broken up into small pieces
- Warmed frozen peas
- Zucchini or yellow squash, softened, roasted cut into small pieces
- Butternut Squash, softened, roasted cut into small pieces
- Avocado, ripened and diced
- Well-cooked broccoli or cauliflower cut into small pieces
Fruit Finger Foods:
- Raspberries, broken up into small pieces
- Blueberries, cut in half
- Banana, broken into small pieces
- Ripe peach, cut into small pieces
- Ripe mango, cut into small pieces
- Watermelon, cut into small pieces
Protein Finger Foods:
- Eggs, scrambled and broken up into small pieces
- Tofu, steamed and diced
- Ground beef, chicken, or turkey, broken up into small pieces
- Shredded cheese
- Salmon, cooked and flaked
- Lightly mashed beans
- Edamame, cut in half as needed
Carbohydrate Finger Foods:
- Puffs and O-shaped dry cereal
- Pasta, well cooked in small pieces
- Bread, lightly toasted and cut into very small pieces or thin strips
- Muffins, diced
- Pancakes, diced or cut into thin strips
- Rice, in small clumps
- Quinoa, in small clumps

Find Your Child's Perfect Product
Try our quick product finder quiz, to find the best plant-based nutrition product to give your little one the best start in life!
Sample Meal Plan for 6-to-9-Month Old Baby
While breast milk or formula will remain your baby’s primary source of nutrition during their first year, introducing solids will allow your baby to explore different textures and flavors all while enhancing their fine motor skills.
Below is a sample meal plan for your baby:
Breakfast: Mashed avocado
Lunch: Quinoa cereal or quinoa in clumps
Dinner: Soft cooked pasta with steamed broccoli cut into small pieces
If your baby is hungry between meals, you may want to offer snacks. For example, if you’re looking for snacks for your 7-month old, consider pieces of banana, O-shaped cereal or puffs, chunks of tofu, or fresh blueberries cut in half.
Can I Freeze Finger Foods for the Baby?
Just like you may like to meal prep for yourself, having ready-made finger foods for your baby in your freezer can be a time-saver and stress-reliever. Not to mention that making your own baby finger foods is a wonderful way to ensure that your baby is getting the best nutrition.
If you are cooking meats and vegetables, make sure they are cooked to at least 160 degrees Fahrenheit for beef and 165 degrees Fahrenheit for poultry.
It’s best to freeze your baby’s finger foods in freezer-safe containers, ice cube trays, or baby food trays which will create easy and accessible serving sizes.
Be sure to label your containers with the contents of food and the date it was prepared. Most frozen foods will keep in the freezer for three to six months.
When ready, defrost and reheat your baby finger foods in small portions, depending on how much you expect your baby to eat. Always check that the food is not too hot before serving it to your baby. Uneaten portions of food should be discarded and never re-frozen and served.
Common defrosting and reheating methods include:
- Thawing food out in the fridge
- Microwaving
- Water bath (placing the food container in a warm water bath)
Keeping Your Baby Safe
One of the biggest fears parents have when it comes to introducing foods to their babies is choking. While both are scary, it’s important to understand the difference between gagging and choking so you’re fully prepared to respond. Additionally, there’s no evidence that baby-led weaning is riskier when it comes to choking versus traditional food introduction.
Gagging
The gag reflex is designed to protect your baby’s airway from food to prevent choking. When your child gags, it’s often the result of unchewed food going too far back in your child’s mouth.
Just like any other skill, feeding skills will take time. As your baby practices self-feeding, they will learn to chew more effectively and gagging should diminish with time.
The following are signs of gagging that while unpleasant, don’t necessarily require intervention:
- Coughing, sputtering, gurgling, and making gagging noises
- Skin may turn a darker shade
- Eyes may water
- Their tongue will thrust forward and they will spit up the food
- They may vomit the food
Choking
Choking occurs when a piece of food gets stuck into your baby’s throat which cuts off their air supply.
Signs of choking include:
- Baby is quiet or silent, unable to gasp or cry
- They will have trouble coughing or won’t cough at all
- They may have trouble breathing
- Skin may turn a bluish color
- May become unresponsive
The standard rescue procedure for choking is to begin abdominal thrusts, also known as the Heimlich maneuver.
Before introducing food to your baby, it’s important that you are trained in both abdominal thrusts and CPR to ensure your baby’s safety.
Additional tips on feeding your baby safely include:
- Avoid eating on the run by securing your child in a highchair or booster seat.
- Do not let siblings feed their baby brother or sister.
- Never leave your baby unsupervised with food.
- Avoid foods that present a choking risk.
Foods that can Pose a Choking Hazard
Fruits/Vegetables
- Cooked or raw whole corn kernels
- Uncut grape, cherry tomatoes, berries, cherries, or melon balls
- Pieces of hard fruit or vegetables like carrots, apples, or celery
- Whole pieces of canned fruit
- Uncooked dried vegetables or fruit, such as raisins or apricots
Proteins
- Whole or chopped nuts and seeds
- Chunks or spoonfuls of nut and seed butters, such as peanut butter or almond butter
- Tough or large chunks of meat
- Hot dogs, meat sticks, or sausages
- Shrimp
- Large chunks of cheese, especially string cheese and cheese cubes
- Bones in meat or fish
- Whole beans
Grain Products
- Cookies, brownies, granola bars
- Potato or corn chips, pretzels, popcorn, or similar snack foods
- Crackers or breads with seeds, nut pieces, or whole grain kernels
- Whole grain kernels of cooked barley, wheat, or other grains
- Plain wheat germ
Sweetened Foods
- Round or hard candy, jelly beans, caramels, gumdrops, or gummy candies
- Chewy fruit snacks
- Chewing gum
- Marshmallows
Navigating the Joys and Challenges of Your Baby's Mealtime Journey
Your baby’s eating adventures will include many trials and tribulations, but also excitement and successes.
Whether you are following a traditional feeding approach, baby-led weaning, or a combination of the two, diving into the world of self-feeding has many benefits for your baby.
Self-feeding is an excellent way for your baby to develop hand-eye coordination, fine motor skills, and can foster a sense of independence paving the way for continued growth.
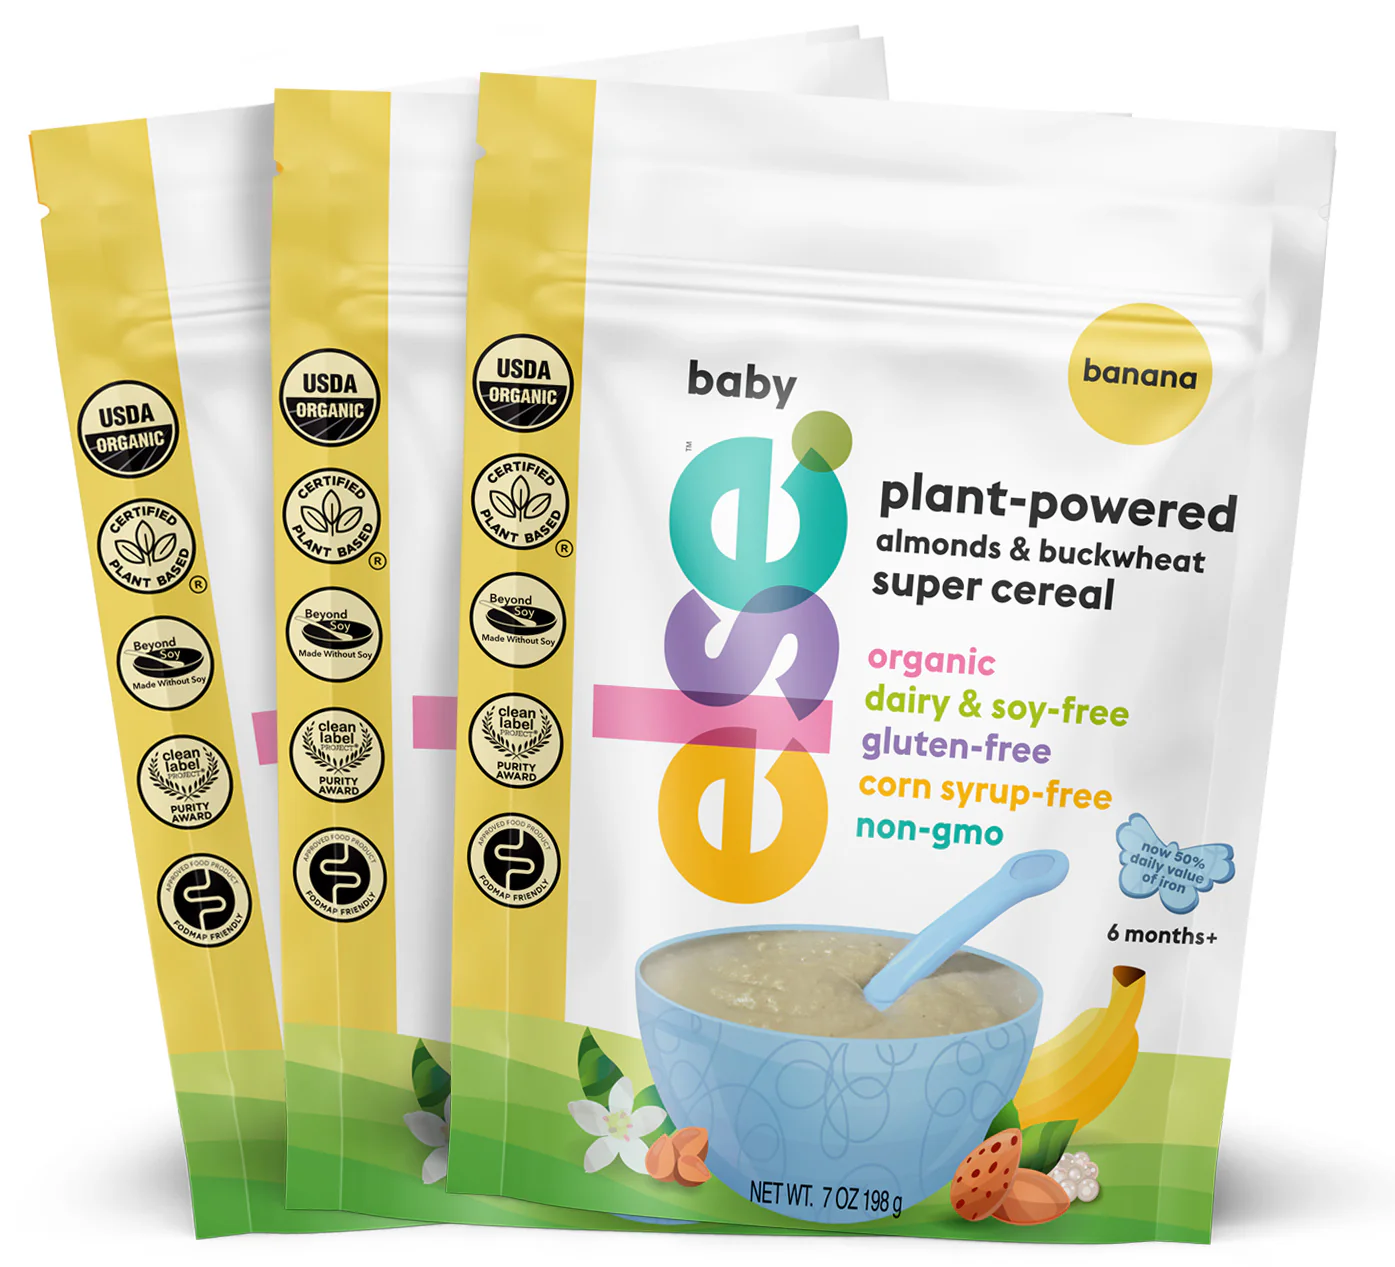
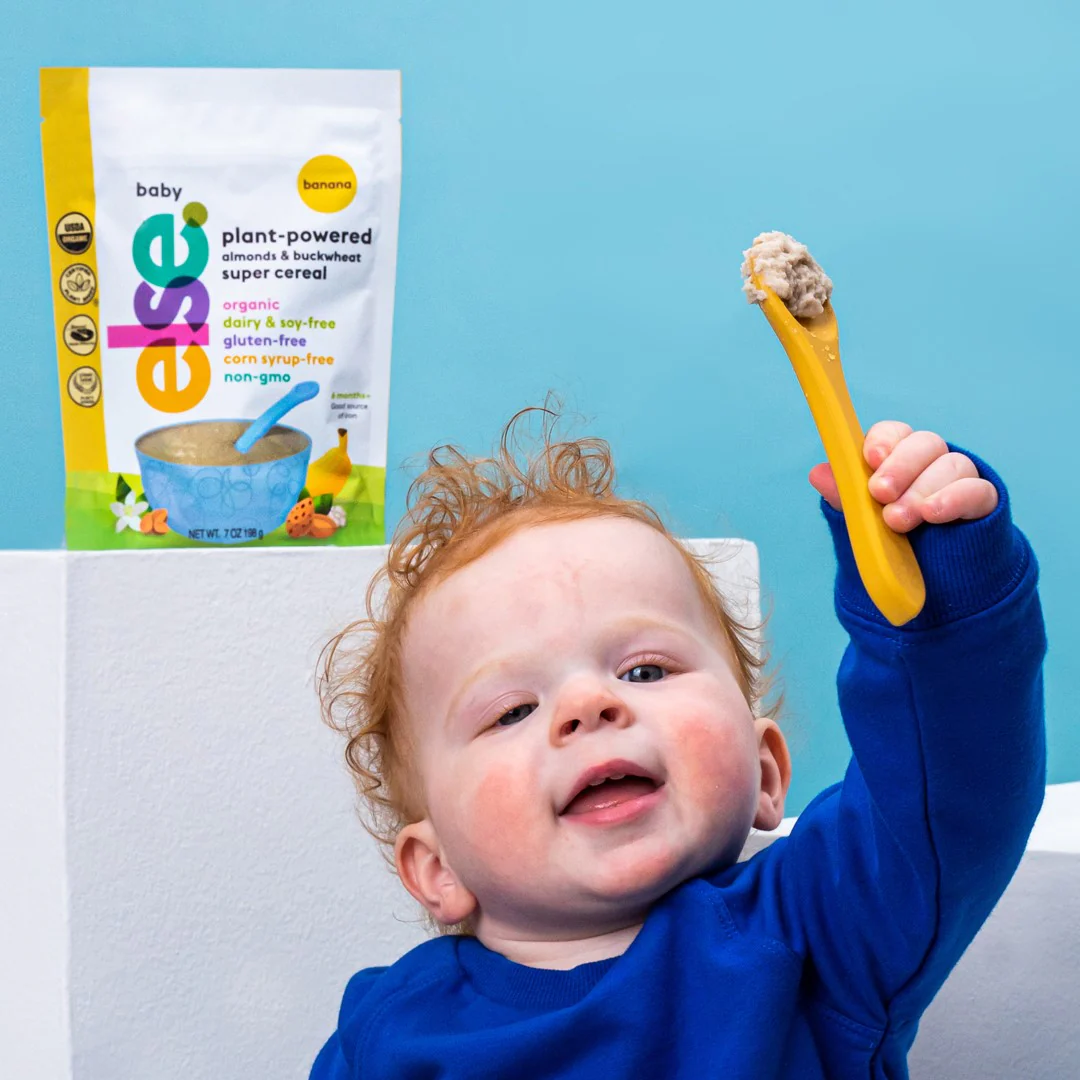
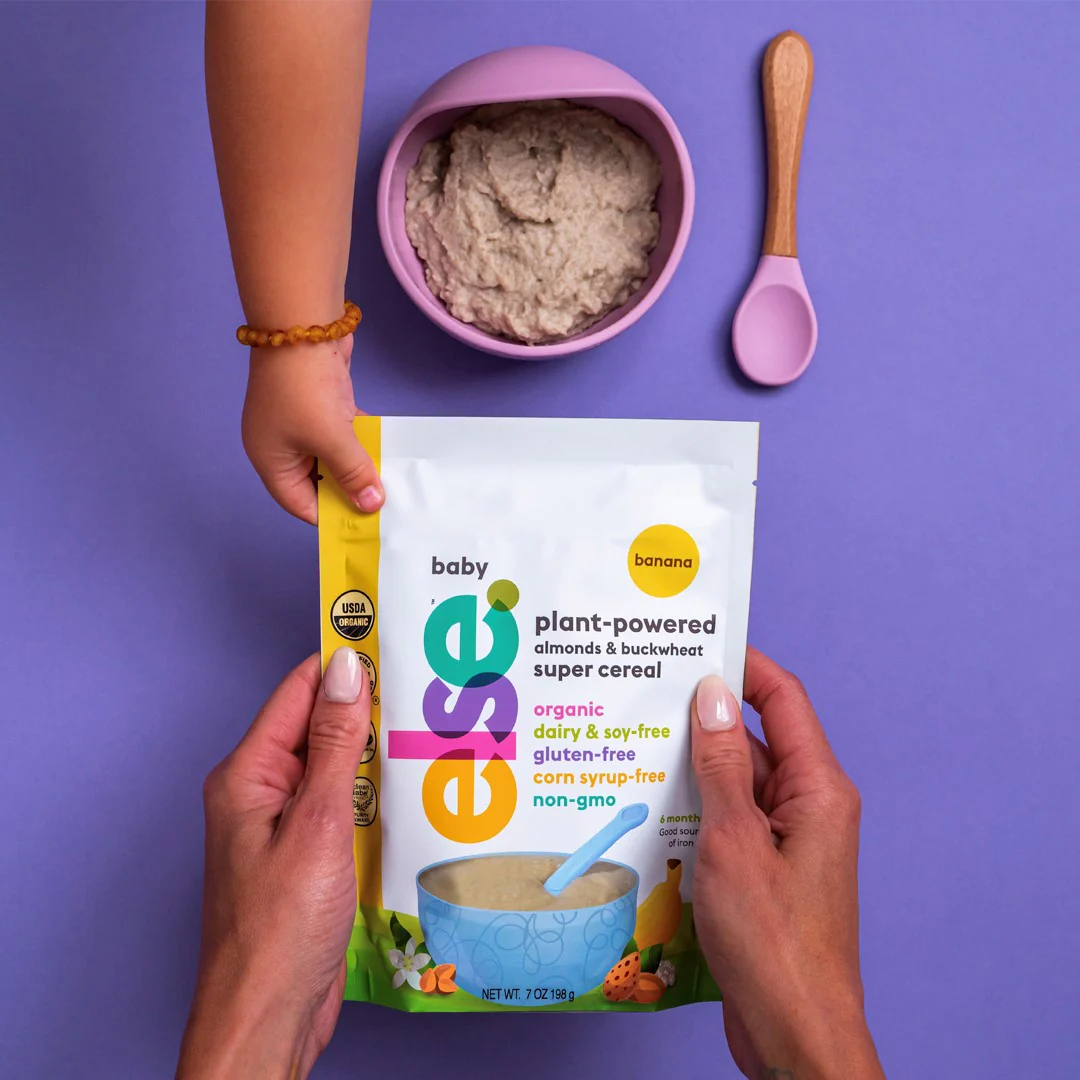
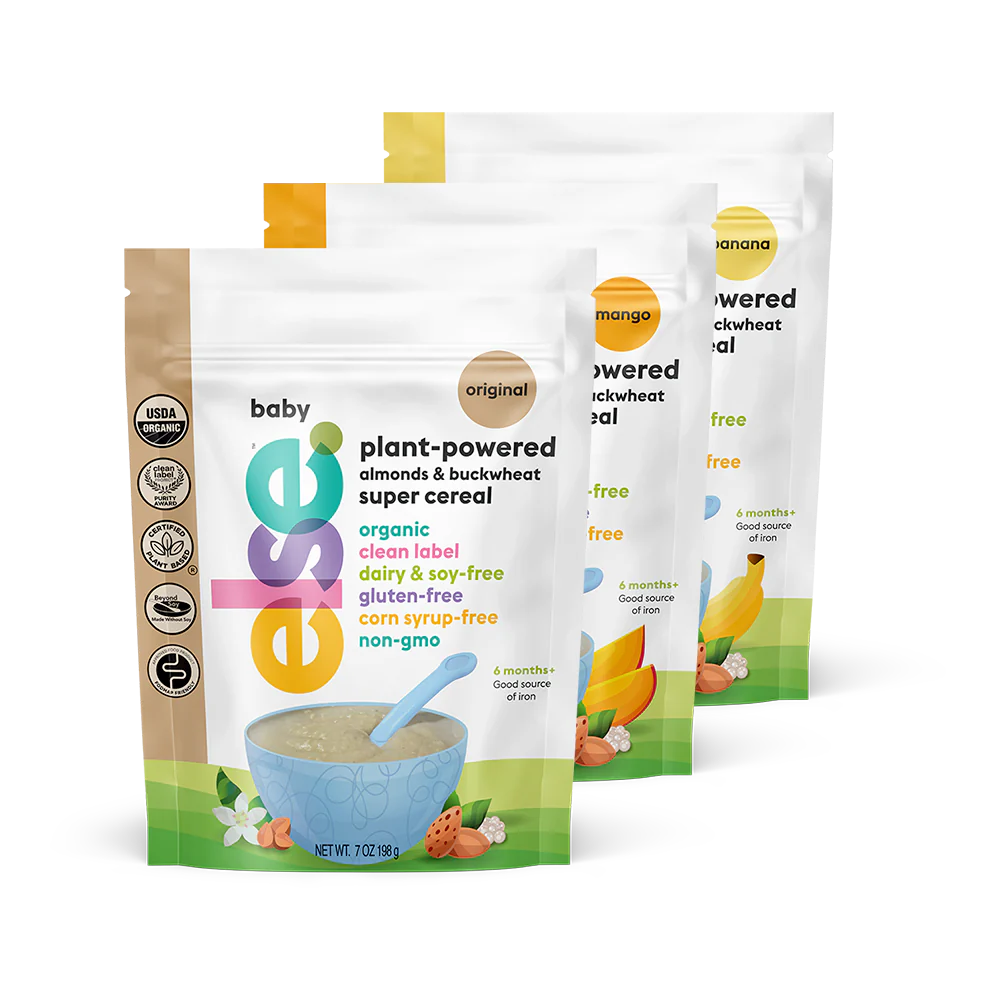
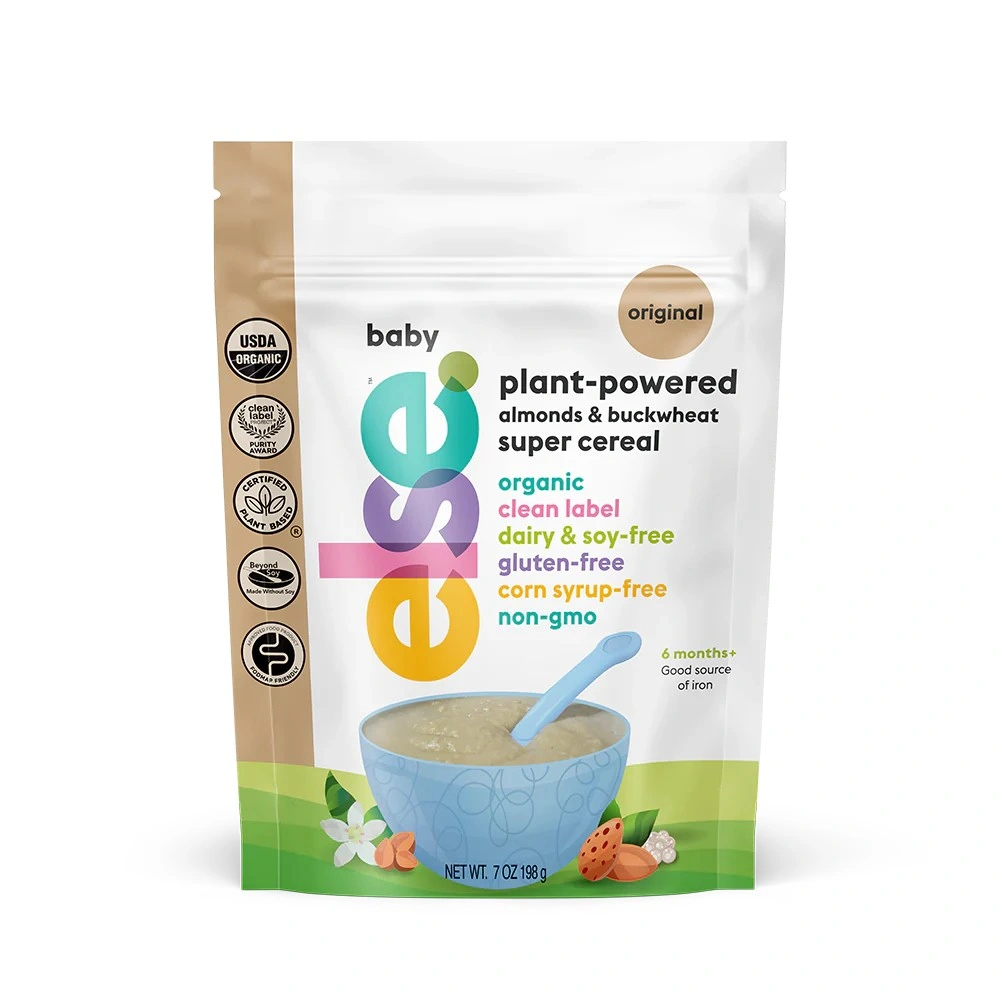
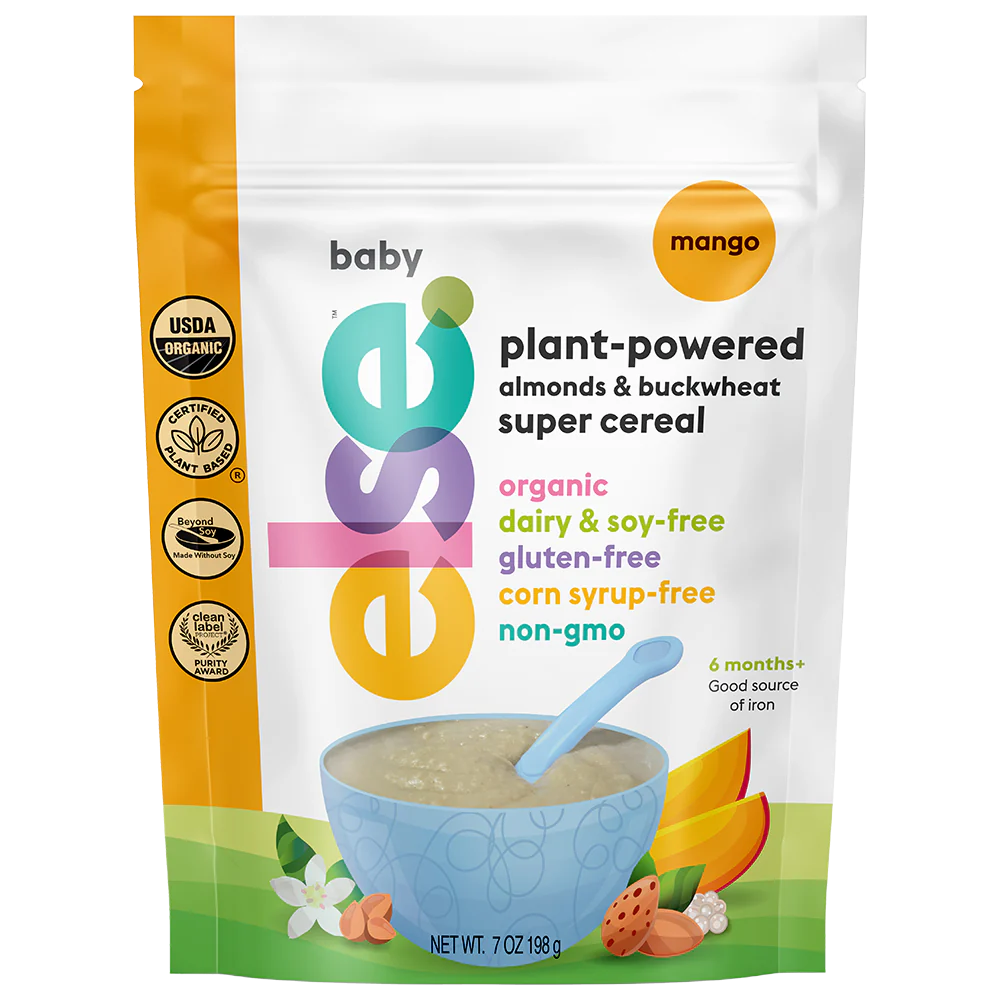
Plant-Powered Baby's Super Cereal Collection
Provide your baby all the essential nutrients in a simple, easy-to-digest form because every calorie counts
The content and advice provided in this article is for informational purposes only and is not a substitute for medical diagnosis, treatment, advice for specific medical conditions. Always consult a pediatrician to understand the individual needs of your child.